Tuesday, April 14, 2015

J - Jirafa

This week we introduced the letter "J" as well as the animal "la jirafa" (the giraffe).  This project was super simple. I found a clipart head of a giraffe and put it into a word doc, along with the word "jirafa" in gray lettering that the children could trace, and a line for their names.  Then I stamped out a bunch of letter J's. They assembled the giraffe by gluing the letter J as the body and then coloring.  Of course, they had to draw in legs, feet, and a tail for the giraffe, but being the little artists they are, they had to create backgrounds. One even drew a giraffe-riding human!  ;)

What you need:
- worksheet with a giraffe head and the word "jirafa"
- yellow construction paper
- letter J stamp (or you can cut out a bunch of J's by hand)
- crayons

My sample (left), student work (right)


Friday, March 20, 2015

H - Helado

What you need:
- ice cream scoops with the syllables "he-la-do" written on them.
- a paper with H helado written at the top and an ice cream cone at the bottom
- crayons
- scissors
- gluesticks

Directions:
- have students color the ice cream scoops and the H page
- cut out the ice cream scoops
- glue them onto the cone in order: HE, LA, DO 


Monster Body Parts

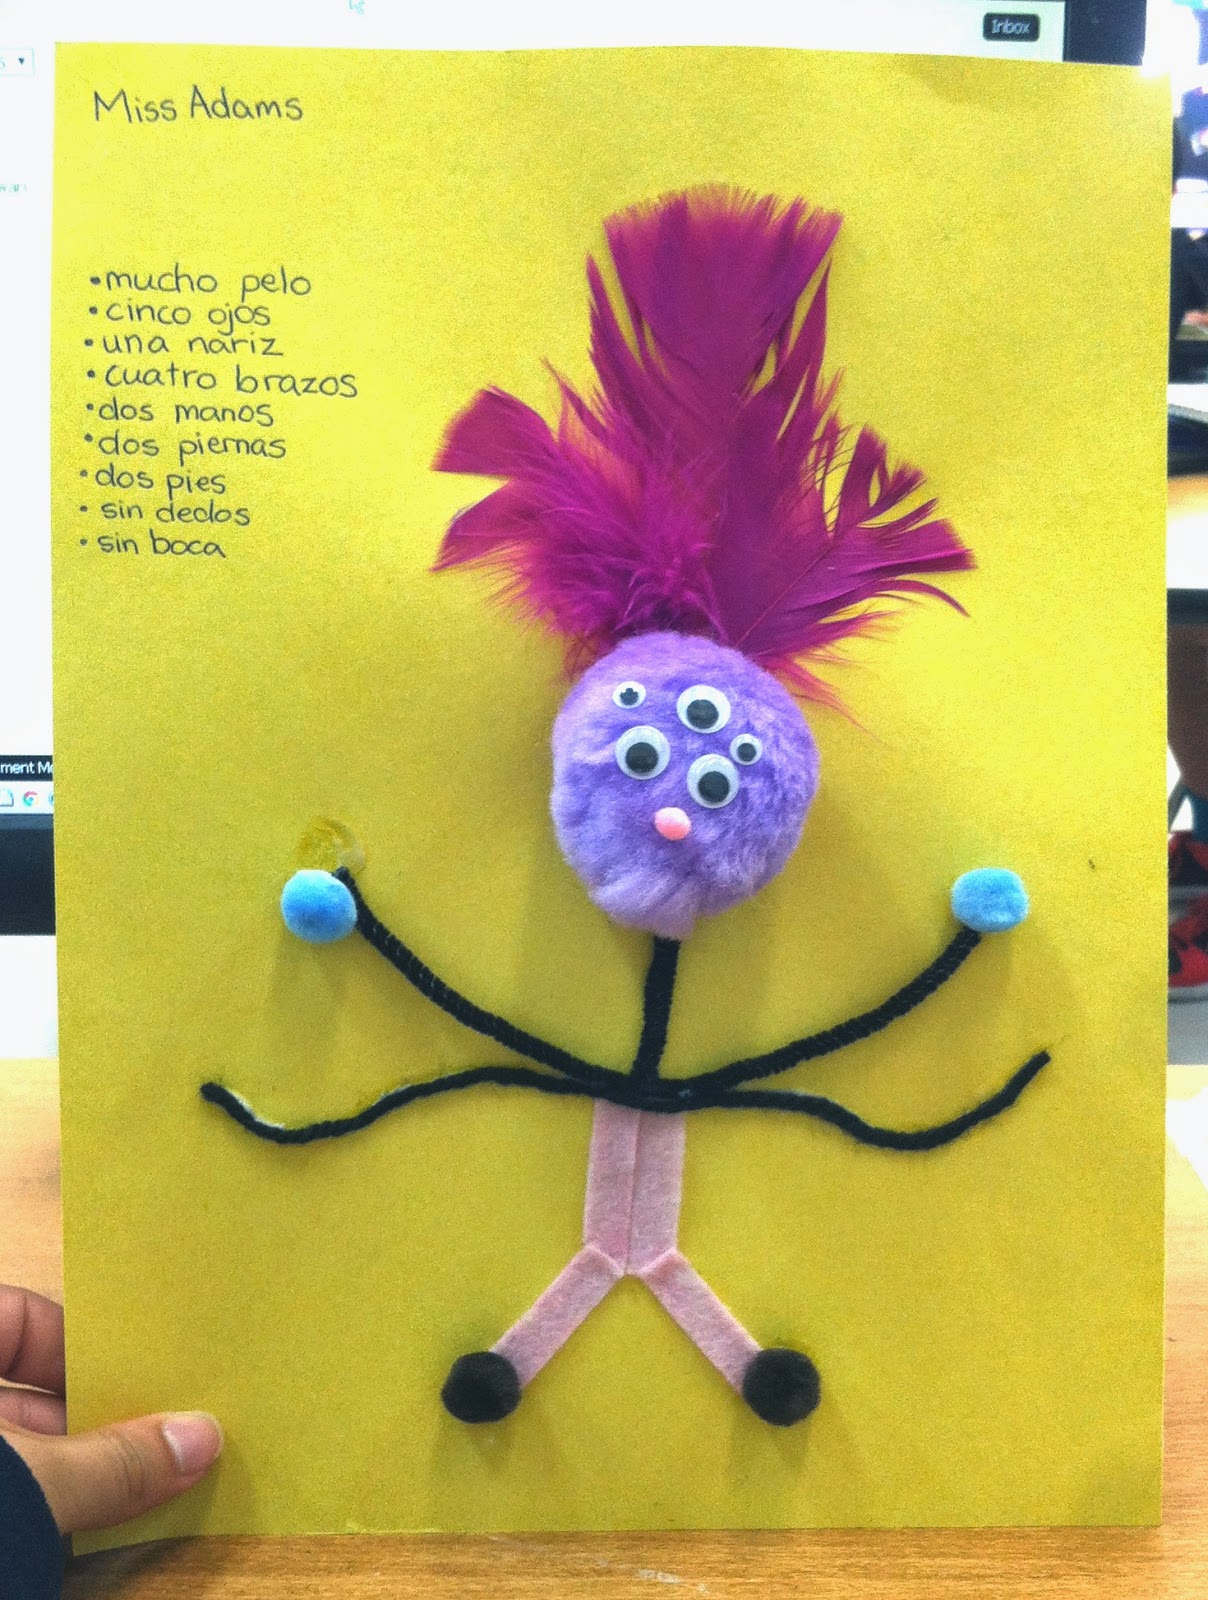
For my first grade class learning about body parts, we made little monstruos and labeled the body parts.


Suggested Items:
- yarn
- pom poms (small and big)
- googly eyes
- feathers
- felt
- foam cut-out shapes
- stickers
- liquid glue
- construction paper

Directions:
- prepare several trays students can share of miscellaneous materials (pipe cleaners not suggested as they are hard to glue onto the paper)
- split students into groups and give a tray per table (this is a LOT easier than trying to hand out supplies to each individual student)
- let students create a monster by gluing materials onto their construction paper
- label the different body parts/describe the monster
- collect projects and set them out to dry

Thursday, March 19, 2015

B - Búho

You need: 
- coloring sheet of the owl body and "B búho" written at the top
- crayons
- paint or giant stamp pads

Directions:
- color the letter B, words, and owl
- dip hands in paint or stamp pad and create wings for the owl
- let dry


P - Pato

You need:
- the letter P and an oval
- feathers
- construction paper
- crayons
- glue

Directions:
- glue the oval onto the construction paper as the duck body and the P as the neck and head
- draw in the beak, eyes, and feet with crayons
- glue feathers as the tail and wings
- write "ato" after the P

A sample project by one of my JrK students


M - Mariposa

You Need:
- construction paper
- beads 
- liquid glue
- sparkles/glitter (optional)

Directions:
- cut out butterfly wings from construction paper
- cut out the letter M as well for Mariposa
- use liquid glue to draw designs on the butterfly wings
- let students place beads or sparkles on the glue.
- allow the glue to dry 
- glue the wings and M onto a big sheet of construction paper or cardstock
- hang in your classroom!