Thursday, September 17, 2015

O - Oso

This week, we made bears out of the letter O.  Since it's still the beginning of the school year, I kept this project super simple.  To make it easier for the little kids, I pre-cut out the paws, head, and letter O's for them.  This way, all they needed to do was glue the body parts onto the construction paper. After piecing their bear together, they could use their black marker to draw on a face and paws.

O is for Oso (Bear)
What you need:
- construction paper (color of your choice)
- letter O stamp (or you can cut out the letter O's by hand)
- pre-cut out paws and head
- black markers
- gluesticks


Student Work


Wednesday, May 13, 2015

Z - zorro

This week, we made foxes out of the letter z!  Similar to the giraffe project, all you need is a worksheet with a head and tail already on it.  I created this one on word, by using a drawing I found on google and erasing the body, then adding "zorro" on the top in grey font, so the students can trace it. I prepped the project by providing pre-stamped out letter z's the student could then just glue to the paper. Lastly, the students may color in their foxes and add arms and legs. Allow the students to have fun with this project. You might end up with a watermelon-eating fox! (see student work below)

What you need:
- worksheet with a fox head & tail and the word "zorro"
- orange construction paper
- letter z stamp (or you can cut out a bunch of Z's by hand)
- crayons
- gluesticks

My Sample


Student Work

Tuesday, April 14, 2015

J - Jirafa

This week we introduced the letter "J" as well as the animal "la jirafa" (the giraffe).  This project was super simple. I found a clipart head of a giraffe and put it into a word doc, along with the word "jirafa" in gray lettering that the children could trace, and a line for their names.  Then I stamped out a bunch of letter J's. They assembled the giraffe by gluing the letter J as the body and then coloring.  Of course, they had to draw in legs, feet, and a tail for the giraffe, but being the little artists they are, they had to create backgrounds. One even drew a giraffe-riding human!  ;)

What you need:
- worksheet with a giraffe head and the word "jirafa"
- yellow construction paper
- letter J stamp (or you can cut out a bunch of J's by hand)
- crayons

My sample (left), student work (right)


Friday, March 20, 2015

H - Helado

What you need:
- ice cream scoops with the syllables "he-la-do" written on them.
- a paper with H helado written at the top and an ice cream cone at the bottom
- crayons
- scissors
- gluesticks

Directions:
- have students color the ice cream scoops and the H page
- cut out the ice cream scoops
- glue them onto the cone in order: HE, LA, DO 


Monster Body Parts

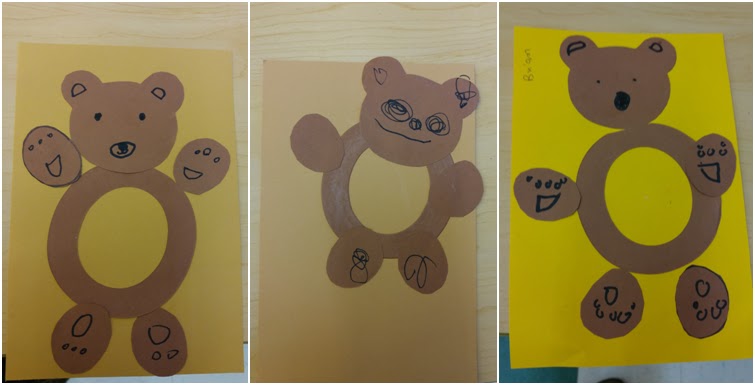
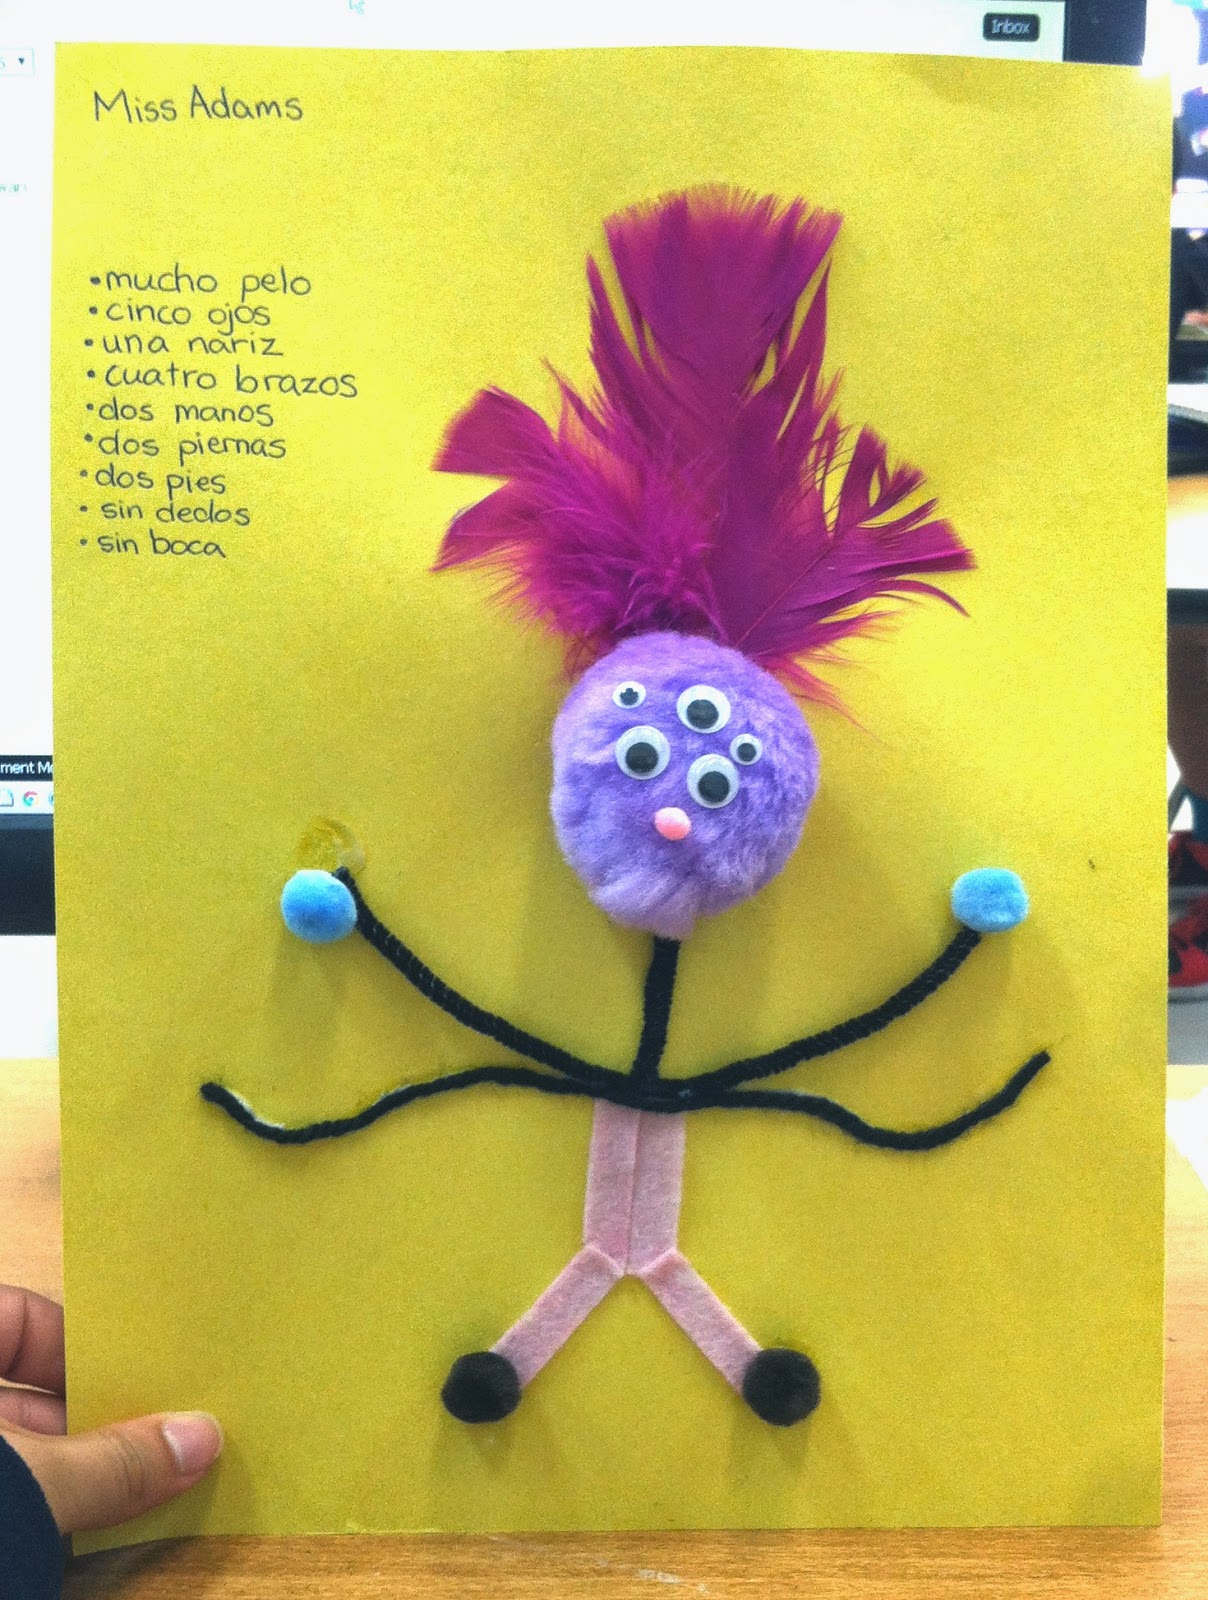
For my first grade class learning about body parts, we made little monstruos and labeled the body parts.


Suggested Items:
- yarn
- pom poms (small and big)
- googly eyes
- feathers
- felt
- foam cut-out shapes
- stickers
- liquid glue
- construction paper

Directions:
- prepare several trays students can share of miscellaneous materials (pipe cleaners not suggested as they are hard to glue onto the paper)
- split students into groups and give a tray per table (this is a LOT easier than trying to hand out supplies to each individual student)
- let students create a monster by gluing materials onto their construction paper
- label the different body parts/describe the monster
- collect projects and set them out to dry

Thursday, March 19, 2015

B - Búho

You need: 
- coloring sheet of the owl body and "B búho" written at the top
- crayons
- paint or giant stamp pads

Directions:
- color the letter B, words, and owl
- dip hands in paint or stamp pad and create wings for the owl
- let dry


P - Pato

You need:
- the letter P and an oval
- feathers
- construction paper
- crayons
- glue

Directions:
- glue the oval onto the construction paper as the duck body and the P as the neck and head
- draw in the beak, eyes, and feet with crayons
- glue feathers as the tail and wings
- write "ato" after the P

A sample project by one of my JrK students


M - Mariposa

You Need:
- construction paper
- beads 
- liquid glue
- sparkles/glitter (optional)

Directions:
- cut out butterfly wings from construction paper
- cut out the letter M as well for Mariposa
- use liquid glue to draw designs on the butterfly wings
- let students place beads or sparkles on the glue.
- allow the glue to dry 
- glue the wings and M onto a big sheet of construction paper or cardstock
- hang in your classroom!